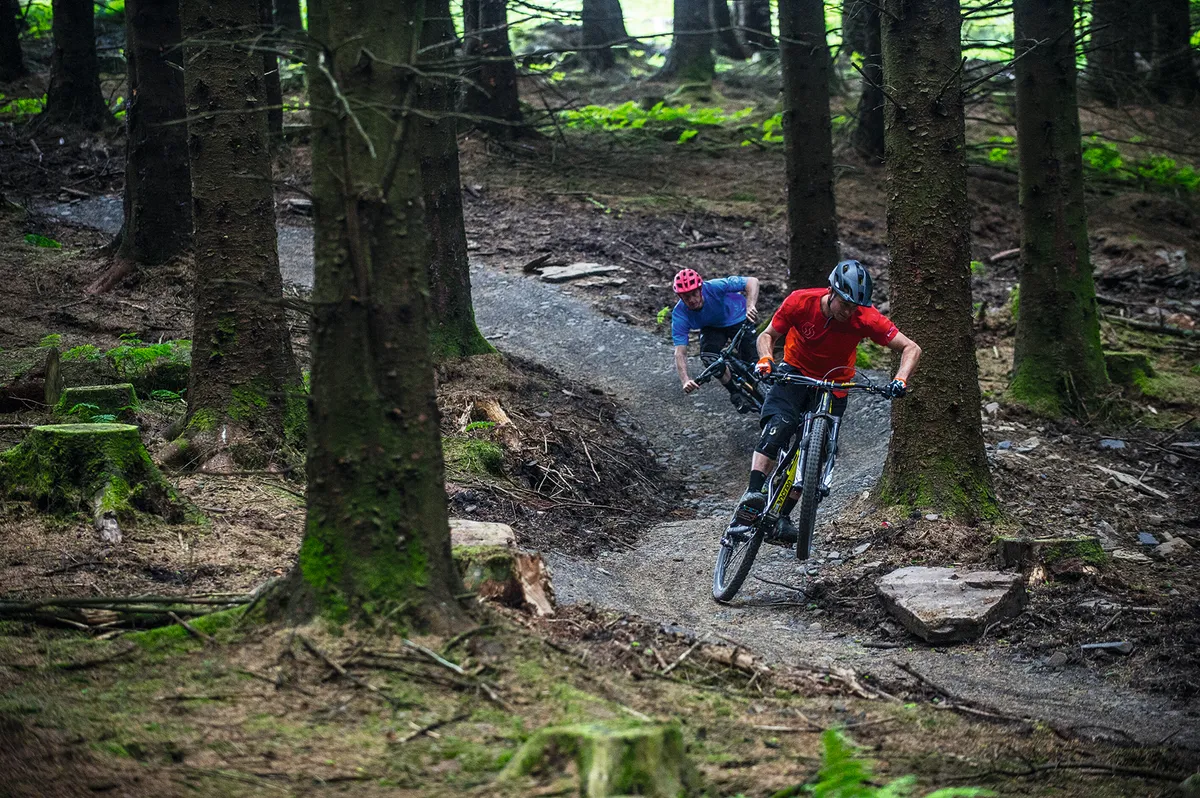
Despite still being a relatively new phenomenon, you can find trail centres up and down the UK, from the midge-plagued Highlands of Scotland to the darkest cider-addled depths of Devon and Cornwall. These networks of officially sanctioned, professionally built and clearly signposted mountain bike routes are a good starting point for beginners, with tracks rated according to difficulty and any hazards clearly marked. But their flowy all-weather trails make them popular with more experienced riders too. Whether you’re a wobbly mountain bike newbie or a grizzled veteran of more natural riding who wants to give manmade routes a go, here’s everything you need to know...
What to expect
Trail centre tracks are normally surfaced with gravel, hardcore or rock slabs to minimise damage to the forest floor, improve drainage and keep them in top condition for longer. Most are cross-country loops that start and finish at the same spot, packing in a rollercoaster ride around the woods in between. Some are all about the descent, with a fireroad winch to the top, while others are just as involving on the way up. Clear grading (see bottom of thispage) makes it easy to pick a route that you’ll be able to ride, both in terms of fitness and technicality, and optional harder sections let you find out if you’re ready to step up to the next level. Trail centres are a good place to visit all year round too, riding well in conditions from slop to dust, with fewer perils than wilder riding spots. Most are well maintained, and you can be pretty confident there won’t be any unexpected blockages like fallen trees or massive puddles.
What to bring with you
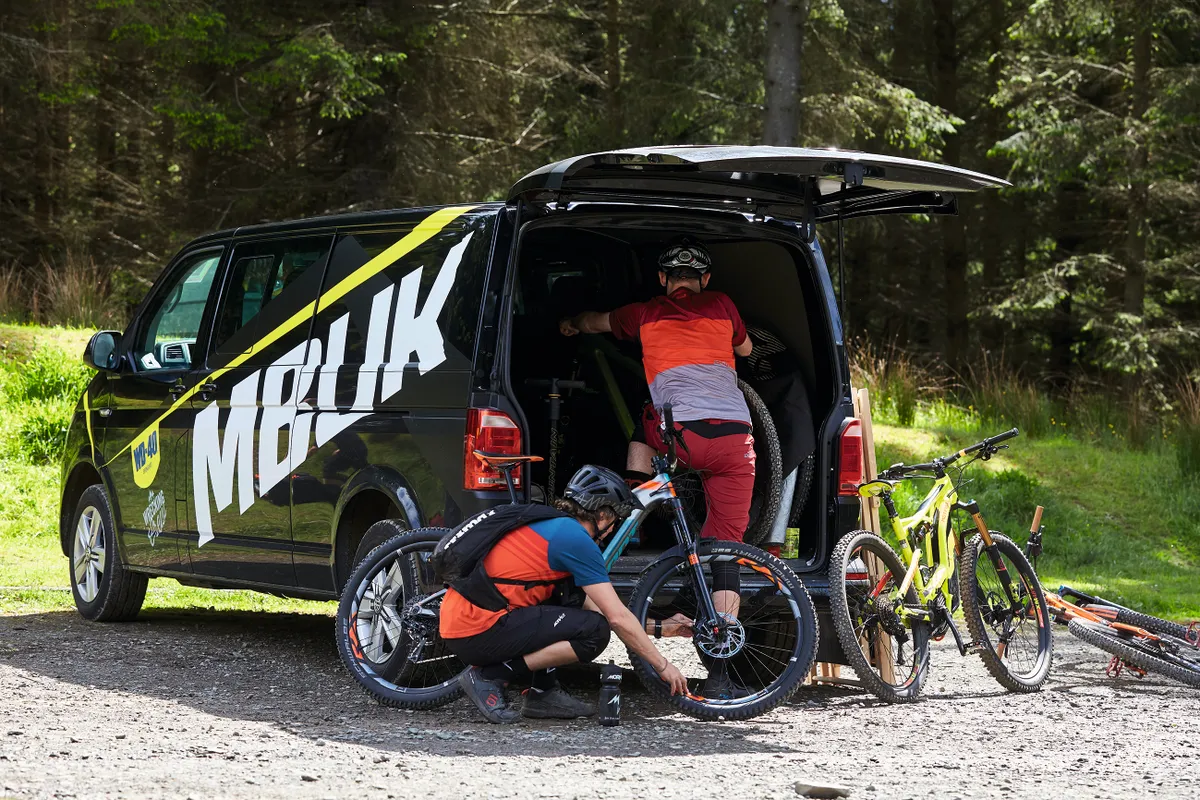
While natural riding often means finding yourself on a remote hillside without a cup of tea in sight, trail centres offer such luxuries as cafes, toilets, showers, bike shops and even free wi-fi. This is great for the impulsive, because you don’t need to plan too far ahead. If doesn’t matter if you forget your packed lunch so long as you’ve got some cash, and bike-saving spares and clued-up mechanics are on hand should the worst happen to your ride.
We still wouldn’t recommend hitting the trails without at least some water, snacks and basic spares though, including a multi-tool, pump and spare inner tube. We’d also advise packing a waterproof and an extra layer in case the rain comes in or your bike breaks.
How to use the trails
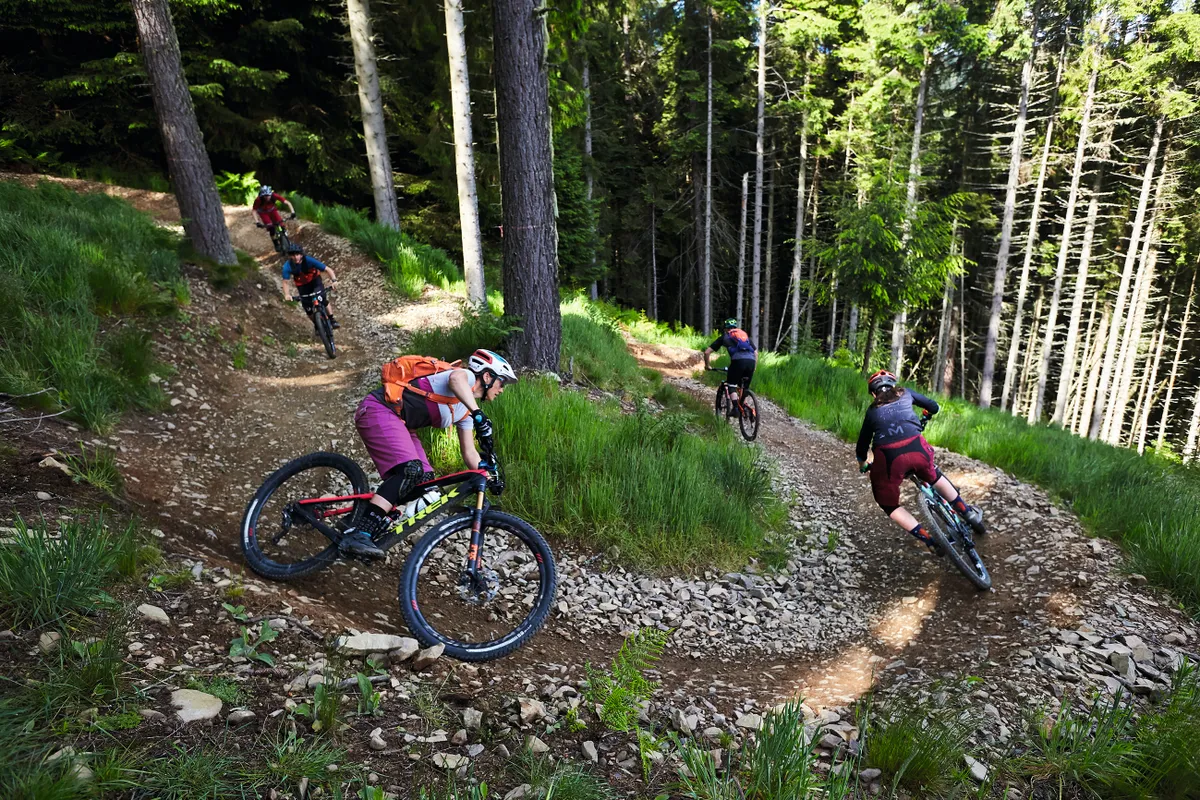
It’s wise to warm up on a green or blue track to get the blood pumping and the stoke rising. Even if you’re feeling like a hero, heading straight out to find the biggest drop on the black descent isn’t the best idea – especially if you’ve got to drive home and go to work on Monday! Thankfully, the wealth of trails at these centres makes it easy to increase the difficulty level throughout the day.
There are a few ‘dos’ and ‘don’ts’ while out on the trail. If you hear a faster rider coming up behind you, pull over at the nearest safe place to let them past. And if you are that faster rider, don’t get too close to the rider in front, who may not be as confident on the bike as you are. If you’ve stopped at the side of the track and want to get going again, check that there isn’t a rider coming up behind you – no one likes to be pulled out on. It’s important to keep your wits about you too – sometimes different trails overlap and you don’t want to end up riding down the black run when you only wanted a gentle jaunt with your other half!
Above all, have fun and don’t be afraid to get gnarly!
How to tackle six common trail centre features
Trail centres aren’t carbon copies of one other, but certain features tend
to crop up time and time again. Here’s how to handle them like a champ...
1 Bermed corners
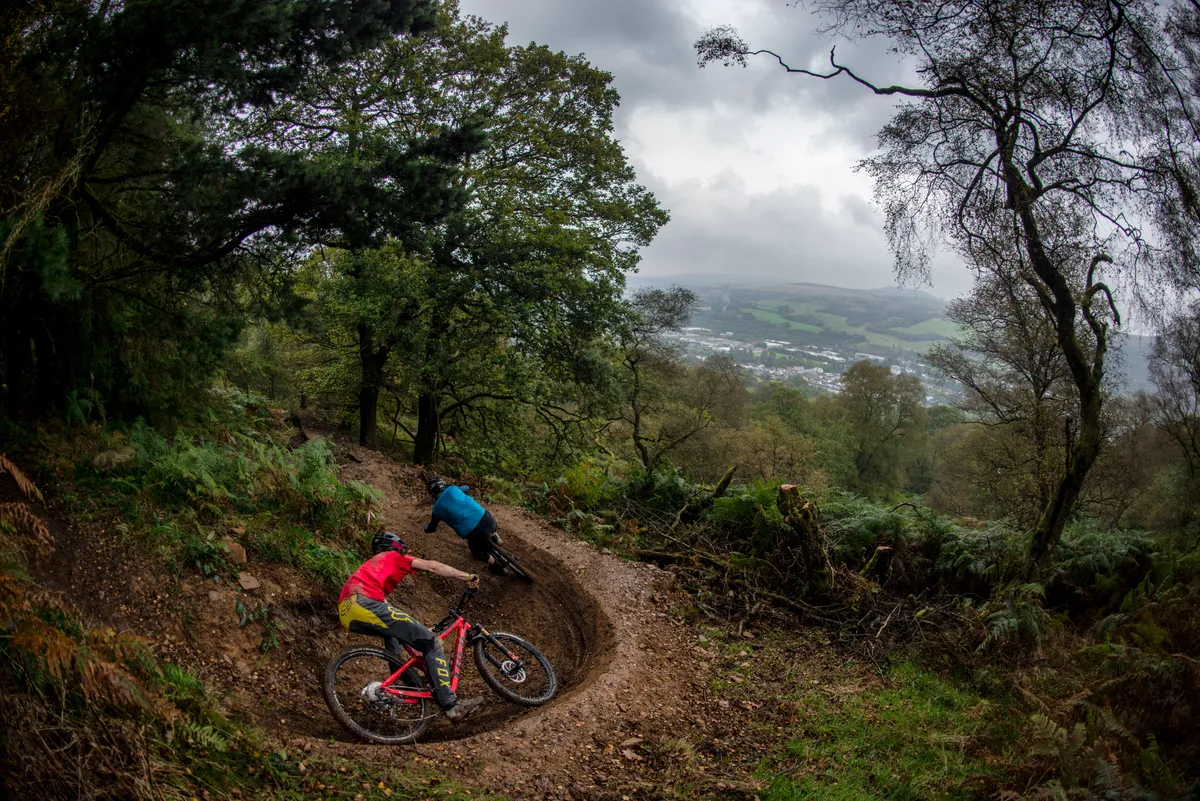
Banked turns, aka berms, are common at trail centres because they’re easier to ride at speed than flatter corners, with more grip. When entering a berm it’s best to either keep your pedals level or drop your outside foot. Then apply pressure through the pedals while dipping your inside shoulder and looking around the turn. Doing this will put your weight in the right place, giving you more grip. Looking ahead will help you exit the turn, thanks to ‘target vision’ – the phenomenon where you’ll almost always end up going where you’re looking.
2 Jumps
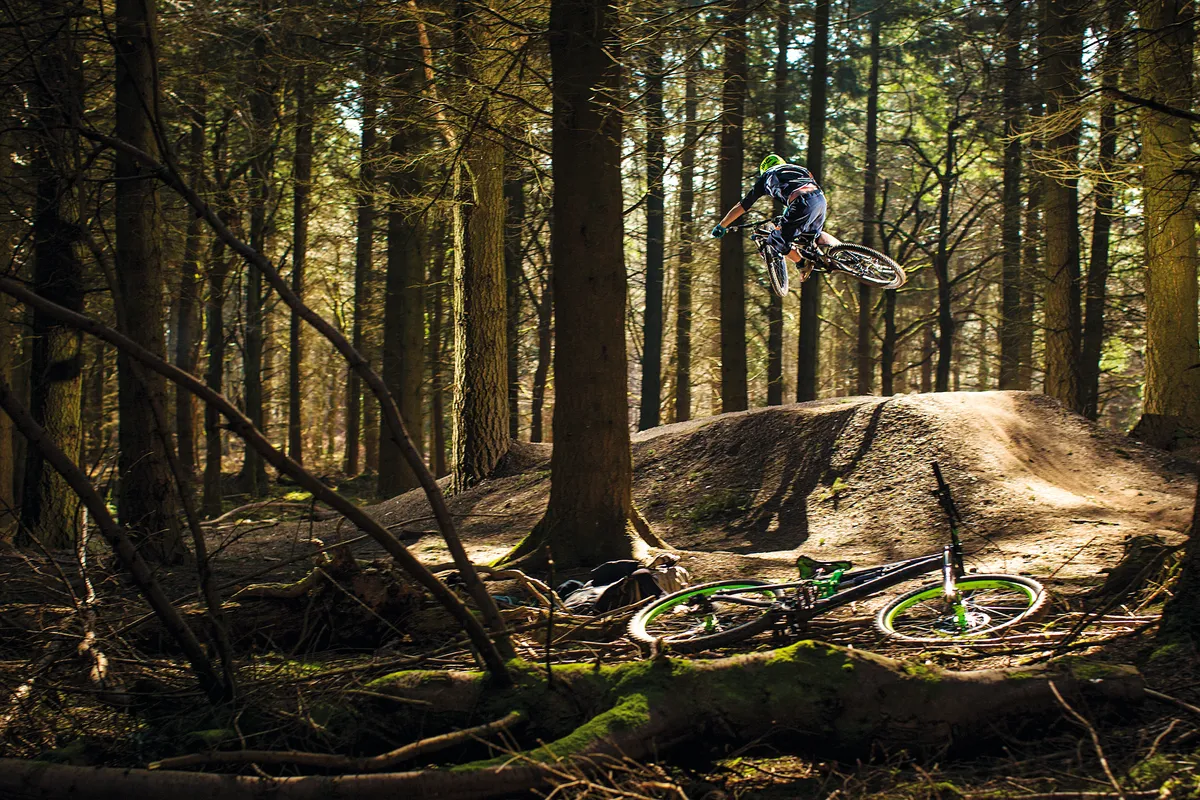
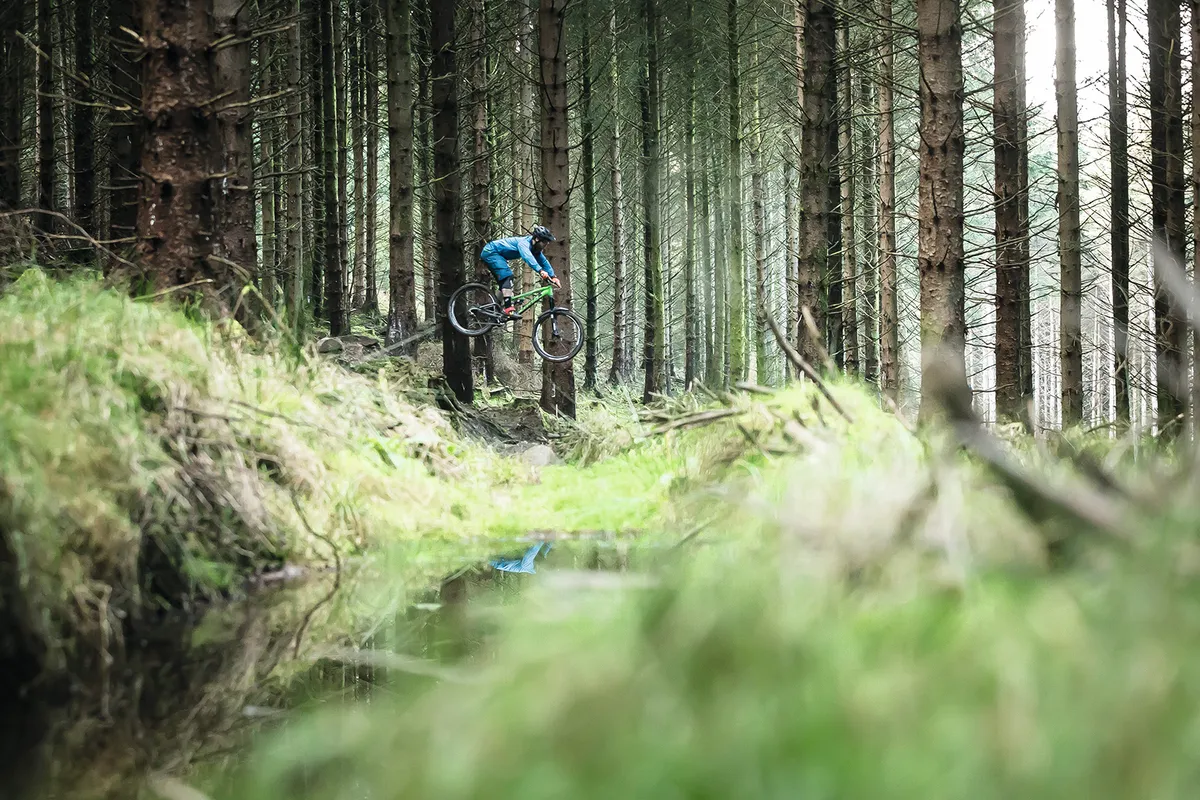
The jumps at trail centres should be well built – unlike the shoddy piles of dirt you may stumble across in your local woods! – and send you into a predictable and enjoyable flight. They’ll normally be ‘tabletops’ (jumps without a gap between the take-off and landing) so if you land short of the downslope it shouldn’t be too much of a problem. To get the most from a jump you’ll want to ‘pump’ the take-off. Compress your weight into the upslope through the pedals and handlebar, then, as you reach the top of the lip, pull up on the bar for an extra boost, known as ‘pop’. This spring-like motion will send you flying into the air. To control how high and far you jump, moderate your speed, ‘pump’ and ‘pop’ accordingly. As you come in to land, absorb the impact with your elbows and knees.
3 Rollers
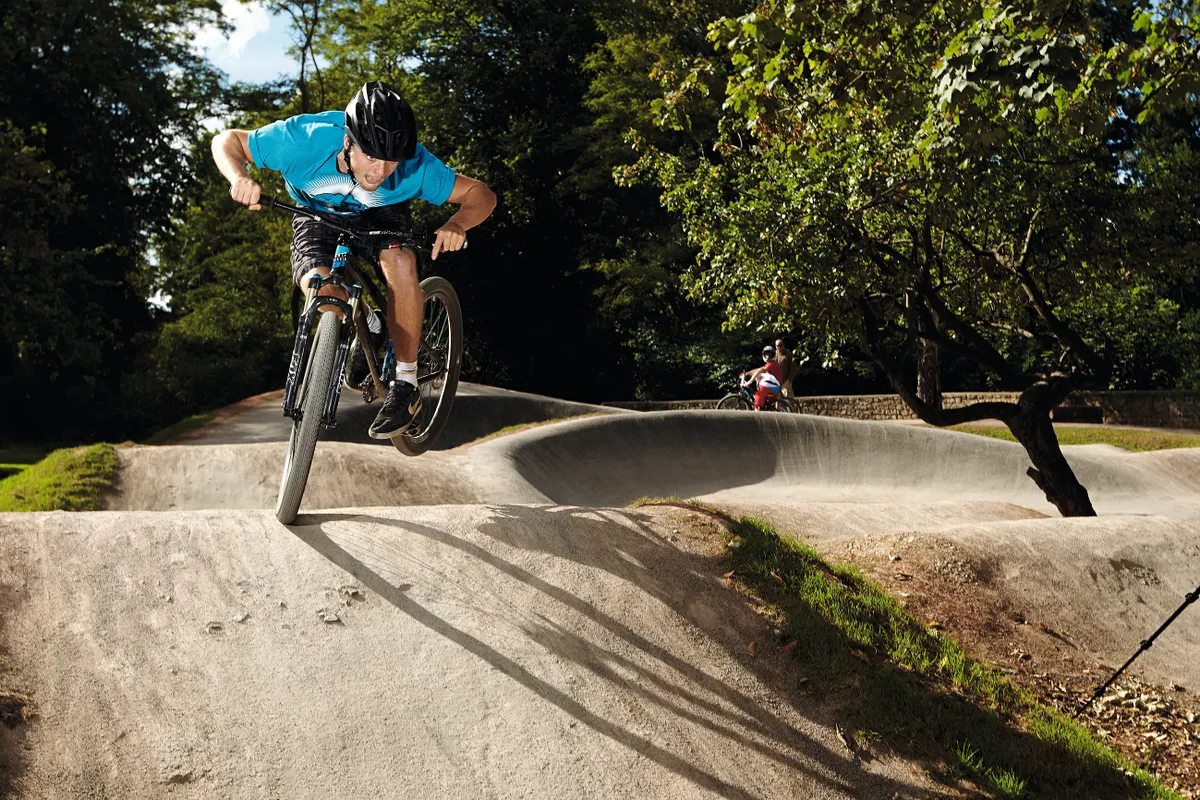
These are humps that you can ‘pump’ to gain speed, and should be attacked in a similar way to jumps. Just as you reach the top of the roller, instead of ‘popping’ your bike into the air like you would on a jump, use your arms to push down into the backside of the roller. If done correctly, this ‘pump’ will generate speed, shooting you forwards.
4 Wooden features
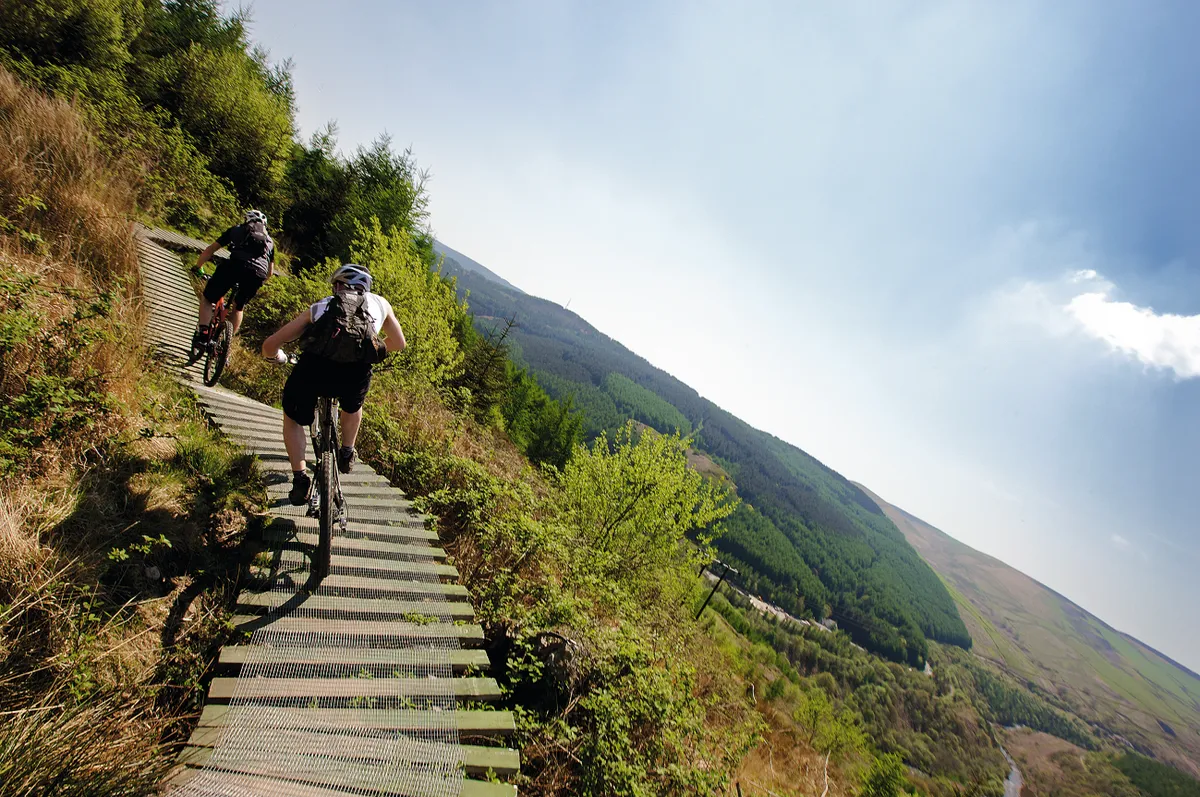
Wooden ladders are sometimes used to span boggy ground or provide a technical challenge. The key to riding wooden features is to not be too cocky! Wood is slippery when wet, and even if it’s been treated or covered with chicken wire, it’s easy to come a cropper if you hit it at the wrong angle. Use target vision to help you stay on line – look well into the distance and not off the sides of the wood. In theory at least, you should be able to sail along the wooden feature if you’re looking where you want to go.
5 Uphill switchbacks
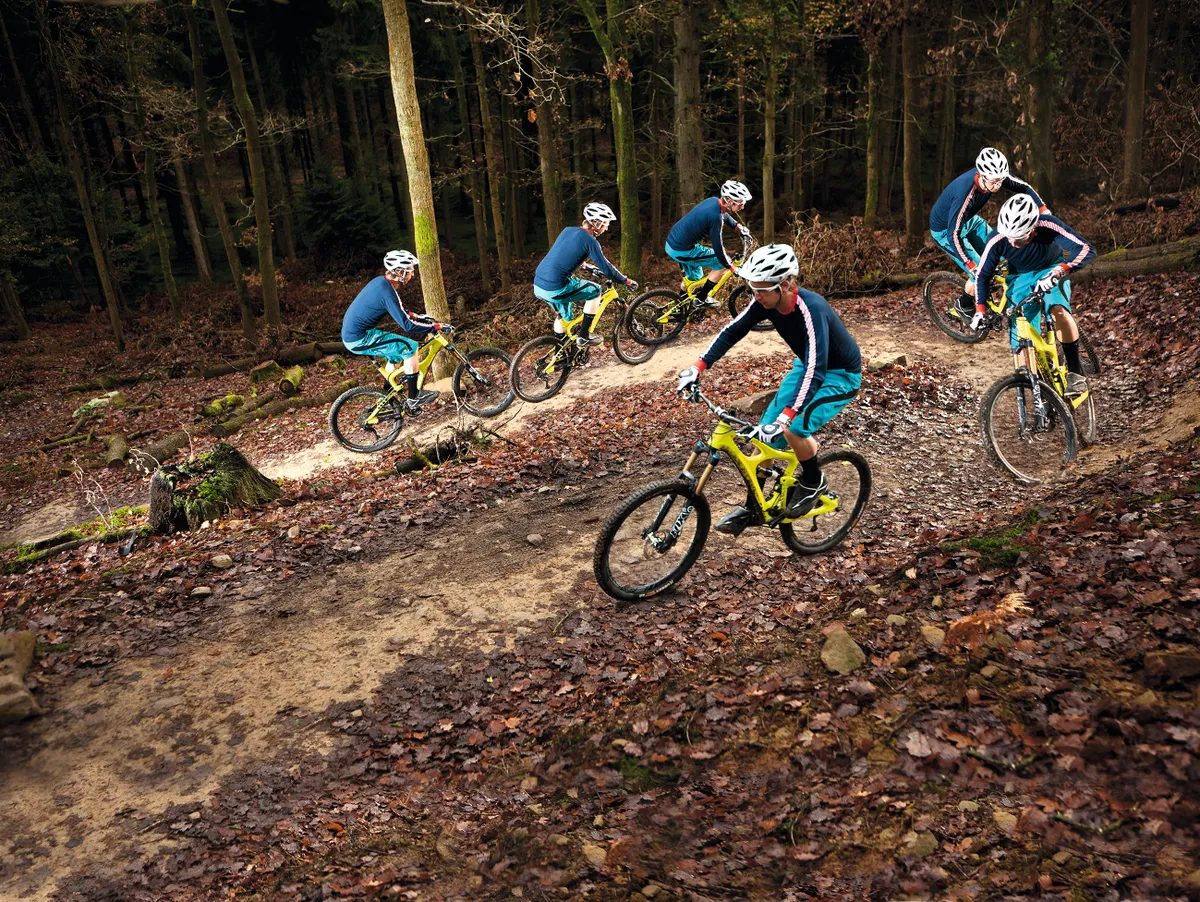
This type of turn is used at trail centres to avoid sending riders directly up the hill, either because it’s too steep or to prolong the ride. Hairpins require coordination and balance to conquer successfully. Because they’re tight you have to approach them slowly, which makes balancing harder. You need to avoid having your inside pedal down as you take the turn because it could hit the floor, which means timing your pedal strokes perfectly. Similarly to berms, you want to be looking around the turn towards the exit to help you take the corner. Drop your inside shoulder to help weight the bike correctly and don’t slow down too much – otherwise you’ll come to a stop and it’s likely you’ll wobble off!
6 drop-offs
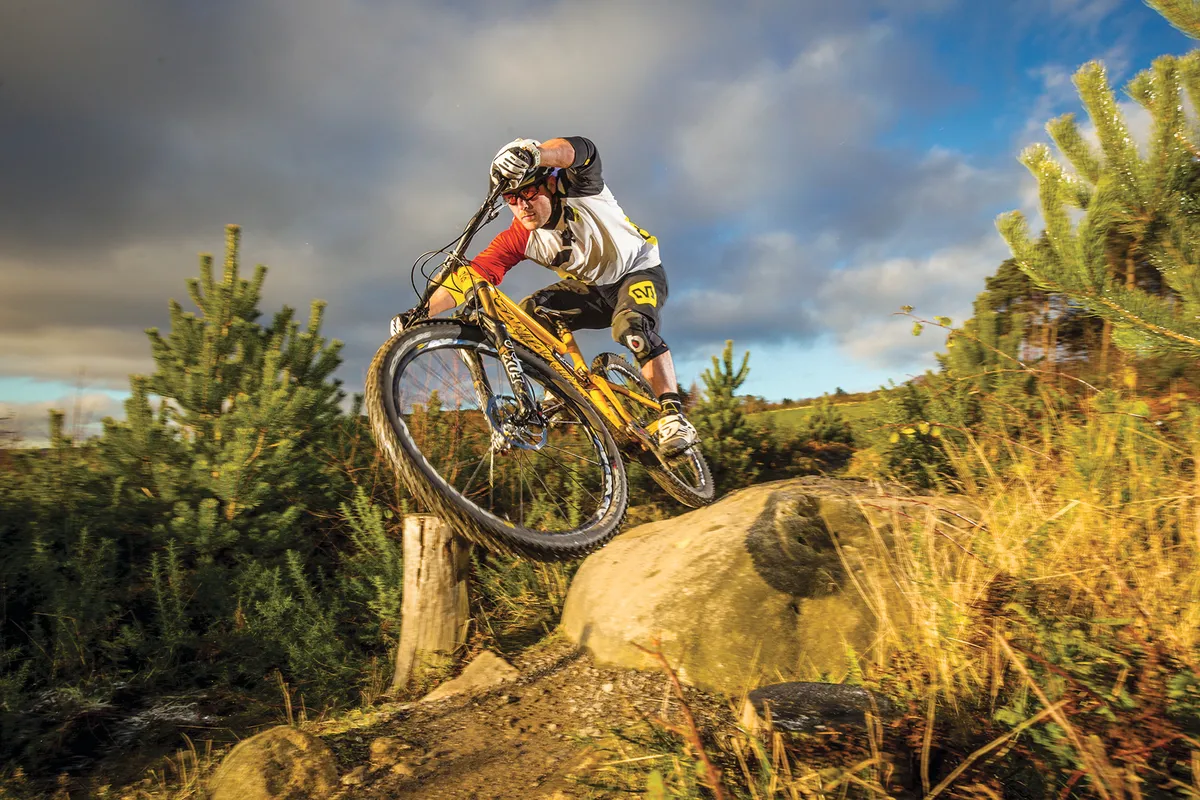
Drops often crop up on red or black-graded trails at trail centres and bike parks. There’s normally a warning sign, and there’s often a ‘chicken run’ diversion for those wanting to avoid the drop. When riding off a drop, you’ll want to maintain your speed to avoid the front wheel nosediving. Push your bike forwards with your arms and extend your legs, straightening your knees and dropping your heels as the bike goes over the edge.
Trail grading explained
Trails are ranked using a simple colour scale to give an idea of difficulty and what technical features you’re likely to encounter
Green
The trail will be wide and smooth, with shallow climbs and descents –ideal for beginners or riders looking for a really easy start to the day.
Blue
Still relatively easy, but the trail surface may be rougher and there could be some technical sections including roots and rocks. You’ll need basic off-road riding skills here.
Red
You’ll need to up the ante to ride the reds, which will have steep singletrack descents and climbs, and technical sections galore. Expect jumps, berms, roots and awkward cambers.
Black
Normally reserved for experts, the trail will have big features that you won’t be able to avoid or bail out of – be prepared for a wild ride! You’ll need a good bike too.
Orange
This status is reserved for ‘bike park’ sections – mostly downhill trails filled with big technical features. You’ll need a full-suspension bike and a big set of balls!
Find out more about the latest issue of MBUK HERE. You can subscribe to MBUK here and check out our Facebook, Instagram and Twitter accounts for all of the latest mountain bike action.
And don't forget to sign up to our newsletter!